Re/max Innovative Properties

Stepping stones are a perfect alternative to traditional garden paths. For small spaces or for a more rustic look, stepping stones can liven up a space while providing helpful functionality. There are many styles of stepping stone, such as those made from flagstone or concrete pavers. However, pebble stepping stones are a fun and creative addition to any yard or garden. The best thing about them is that they’re simple to make yourself. Here we’ll go over how to make your very own stepping stones.
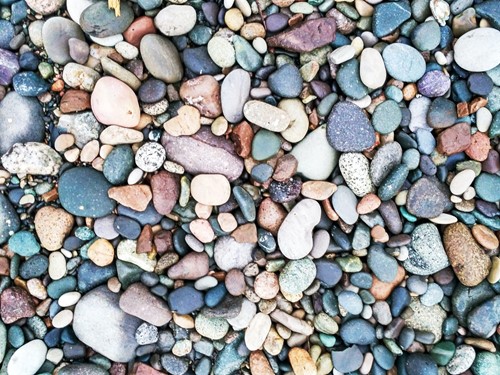
Smooth stones or pebbles
Mortar
Paintbrush
Rubber mallet
12x12 inch concrete mold
Protective gloves
Fill the mold with dry mortar, leaving about 1/3 inch at the top.
Level the mortar either by hand or a small float, smooth out the mortar into an even surface. Use protective equipment to avoid skin burn or irritation from the mortar.
Begin arranging the stones by nestling them into the dry mortar. Place them so they are snug against one another and stand up without tipping over.
Because the mortar is still dry, you don’t have to worry about planning a design ahead of time. You can change stone placement as much as you need to make the perfect pattern.
Once the stones are where you want them, use the rubber mallet to tamp them down. Try to make them level with the top of the mold. You can use a piece of wood, a ruler or any other flat object to test the level.
Use the paintbrush to dust off the surface of the stones to remove any extra dry mortar.
Slowly add water to the mortar using a spray attachment on a hose. Keep the water pressure low so that it does not send stones and mortar flying. Plan to do several light rounds of watering rather than drenching the mold.
To test the moisture, use the mallet to tap on the stones. Watch for bubbles to appear or excess water to drain out when you tap the stones—this is your cue to stop watering.
Take your thoroughly damp stepping stone mold to a covered but well-ventilated spot. The mortar will need to cure and harden for at least 48 hours before your stepping stone will be ready to use.
The stepping stone should be hardened and cured after two days. Carefully remove the mold and wash away any loose mortar with water and a paintbrush.
Now you have a beautiful custom stepping stone for your garden. Repeat the process to make an entire path or keep them as standalone points of interest in your landscaping.
With over 18 years of experience, Jessica is licensed New Hampshire and Massachusetts. A proud member of the National Association of Realtors, Jessica values the highest code of ethics and standards expected of her. As a seller’s agent, she uses the most current market information to properly value the property. In addition, with her experience she is able to assist sellers on the best ways to improve homes so they can solicit the highest offers. Jessica works with a cutting edge marketing & social networking firm to obtain the maximum exposure for all of her listings. Known for her negotiating skills, she has a passion for working with buyers providing knowledge of what to expect & peace of mind throughout the process. In addition to what Jessica provides as a buyers agent, she works closely with a team of experts so it’s a “one stop shop” for all her buyers. In addition to her real estate career, Jessica is also a licensed loan originator in N.H. Combined with her expertise in both real estate, mortgages and finance, Jessica has a full understanding on the home buying and selling process. In today's real estate market it is so important for sellers and buyers to work with an agent who has great skill set and experience.
